Proper Pistol Grip Technique: A Comprehensive Guide
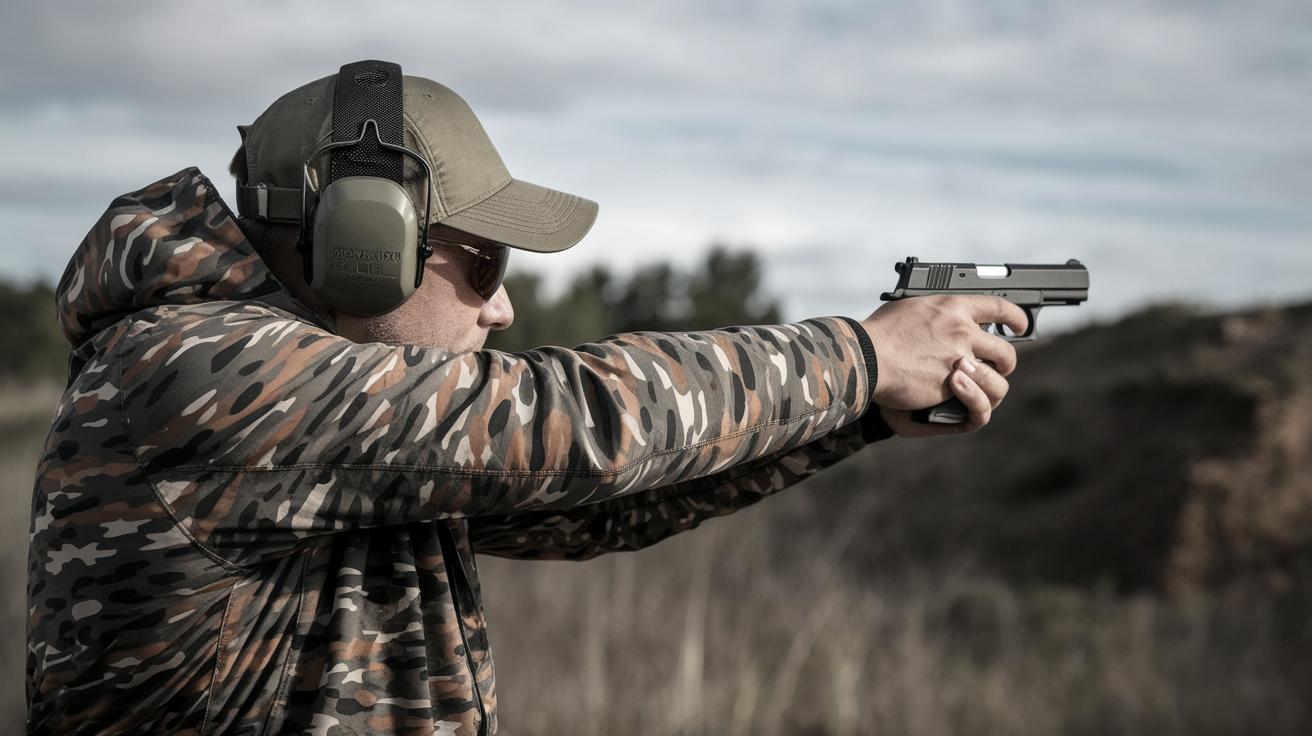
Grasping the nuances of proper pistol grip is essential for both novice and seasoned shooters. A correct grip ensures not only safety but also enhances accuracy and control during shooting. This guide delves into the essentials of gripping both semi-auto handguns and revolvers, enriched with step-by-step instructions complemented by visual references and common pitfalls to avoid. By the end of this post, readers will be well-equipped with actionable insights to refine their grip techniques, contributing to a safer and more enjoyable shooting experience.
What You Need Before You Start
Must-Have Tools
To establish a solid foundation for mastering a proper pistol grip, certain tools are indispensable. Firstly, ensure you have access to a quality handgun with an ergonomically designed handle that suits your hand size. Proper alignment begins with a well-fitted tool. Secondly, ear and eye protection are non-negotiable; safeguarding your senses is paramount for safe shooting practice.
A reliable range or controlled environment where practice can take place is another necessity. This setting allows you to experience real-world scenarios while maintaining a focus on safety and control.
Nice to Have, But Not Required
While not essential, having a set of grip enhancers or aftermarket grip options can significantly aid those looking to customize their hold. These tools provide an opportunity to improve grip comfort and performance, especially in varying weather conditions that might affect hand positioning.
Navigating resources such as instructional videos or attending shooting workshops can provide you with helpful insights. While these are supplementary, hands-on learning with experienced instructors can greatly enhance your understanding and execution of proper grip techniques.
Step-By-Step Instructions: How to Grip a Semi-Auto Handgun
Step 1 – Get Aligned
Alignment starts with the feet. Ensure they are shoulder-width apart with your dominant foot slightly ahead for optimal stability. This positioning helps in maintaining balance during recoil and sets the foundation for a reliable grip.
Next, align the gun’s sights with your dominant eye by extending your firearm forward, ensuring your line of sight is unobstructed. Proper sight alignment is critical for accurate target acquisition and shot precision.
Step 2 – Get Your Dominant Hand High on the Grip
Position your dominant hand so that it fits snugly high on the back strap of the gun. This minimizes muzzle flip and aids recoil control. The webbing between your thumb and forefinger should be as high as possible on the grip.
Keen attention should be paid to finger placement on the trigger. Your finger should rest comfortably on the trigger, ready to engage with minimal lateral movement for a precise trigger pull.
Step 3 – Placement of Non-Dominant Hand
Wrap your non-dominant hand around the front of your dominant hand, with your fingers encircling the grip securely. Your non-dominant thumb should rest comfortably on the side of the frame, ensuring no obstruction to the slide action.
This complementary grip reinforces stability and control, allowing for a stronger hold and reducing the effects of recoil.
Step 4 – Get the Right Wrist Angle
Both wrists should remain firm with a slight forward angle, creating a solid lock that stabilizes the firearm. This positioning contributes significantly to recoil management, ensuring that the barrel returns swiftly to the target after each shot.
Avoid limp wrists, as they can exacerbate recoil and affect accuracy. Instead, aim for a balanced tension that maintains steady control without forcing the wrists into discomfort.
Step 5 – Grip Strength
Maintaining a firm yet flexible grip is key. Overly tight grips can lead to fatigue and tremors, whereas too loose a grip compromises control and precision. Aim for a grip strength akin to a firm handshake.
Regular practice will help you find the right balance, enabling consistent performance while reducing muscle strain during extended shooting sessions.
Step-By-Step Instructions: How to Grip a Revolver
Step 1 – Get a Proper Grip Angle & Wrist Alignment
Similar to semi-auto techniques, revolver grip begins with proper body alignment, dictated by foot positioning and sight alignment. A high grip is equally crucial here; the webbing of your hand should sit high on the back strap for optimal control.
Wrist alignment needs special attention to counter the revolver’s heavier trigger pull and unique recoil characteristics. A stable wrist ensures consistent accuracy and recoil management.
Step 2 – Non-Dominant Hand Placement
With a revolver, wrap your non-dominant hand around the dominant hand, but ensure your fingers steer clear of the cylinder gap to prevent burns or injuries from escaping gases.
Your non-dominant thumb should rest comfortably along the frame, naturally supporting your grip, while maintaining full control over the revolver’s greater recoil during firing.
Common Mistakes to Avoid
One major mistake is gripping too low on the handle, which exacerbates recoil and affects accuracy. There’s a tendency for beginners to hold the gun with limp wrists, inadequate for managing the recoil effectively.
Additionally, avoid crossing thumbs or incorrect finger placement that could obstruct the moving parts of the firearm. Such errors can lead to misfires or even cause injury.
FAQs
Q1: How tight should my grip be?
A firm but relaxed grip, akin to a firm handshake, is recommended to maintain control without causing fatigue.
Q2: How can I improve my grip strength over time?
Incorporating grip strength exercises, such as using hand grippers or engaging in activities that enhance forearm strength, can prove beneficial.
Final Thoughts
Mastering the proper pistol grip is a continuous learning journey that significantly enhances shooting safety and performance. By focusing on alignment, hand placement, and strength, shooters can effectively manage recoil, improve accuracy, and enjoy a more fulfilling shooting experience.
Resources
For further reading and visual demonstrations, consider exploring popular firearm safety and shooting technique websites, along with instructor-led courses available locally or online.
| Section | Key Points |
|---|---|
| Must-Have Tools | Quality handgun, ear and eye protection, practice range |
| Nice to Have Tools | Grip enhancers, instructional videos, workshops |
| Semi-Auto Grip Steps | Alignment, dominant hand high, non-dominant hand placement, wrist angle, grip strength |
| Revolver Grip Steps | Proper grip angle, non-dominant hand placement |
| Common Mistakes | Gripping too low, limp wrists, incorrect finger placement |
| FAQs | Grip tightness, improving grip strength |